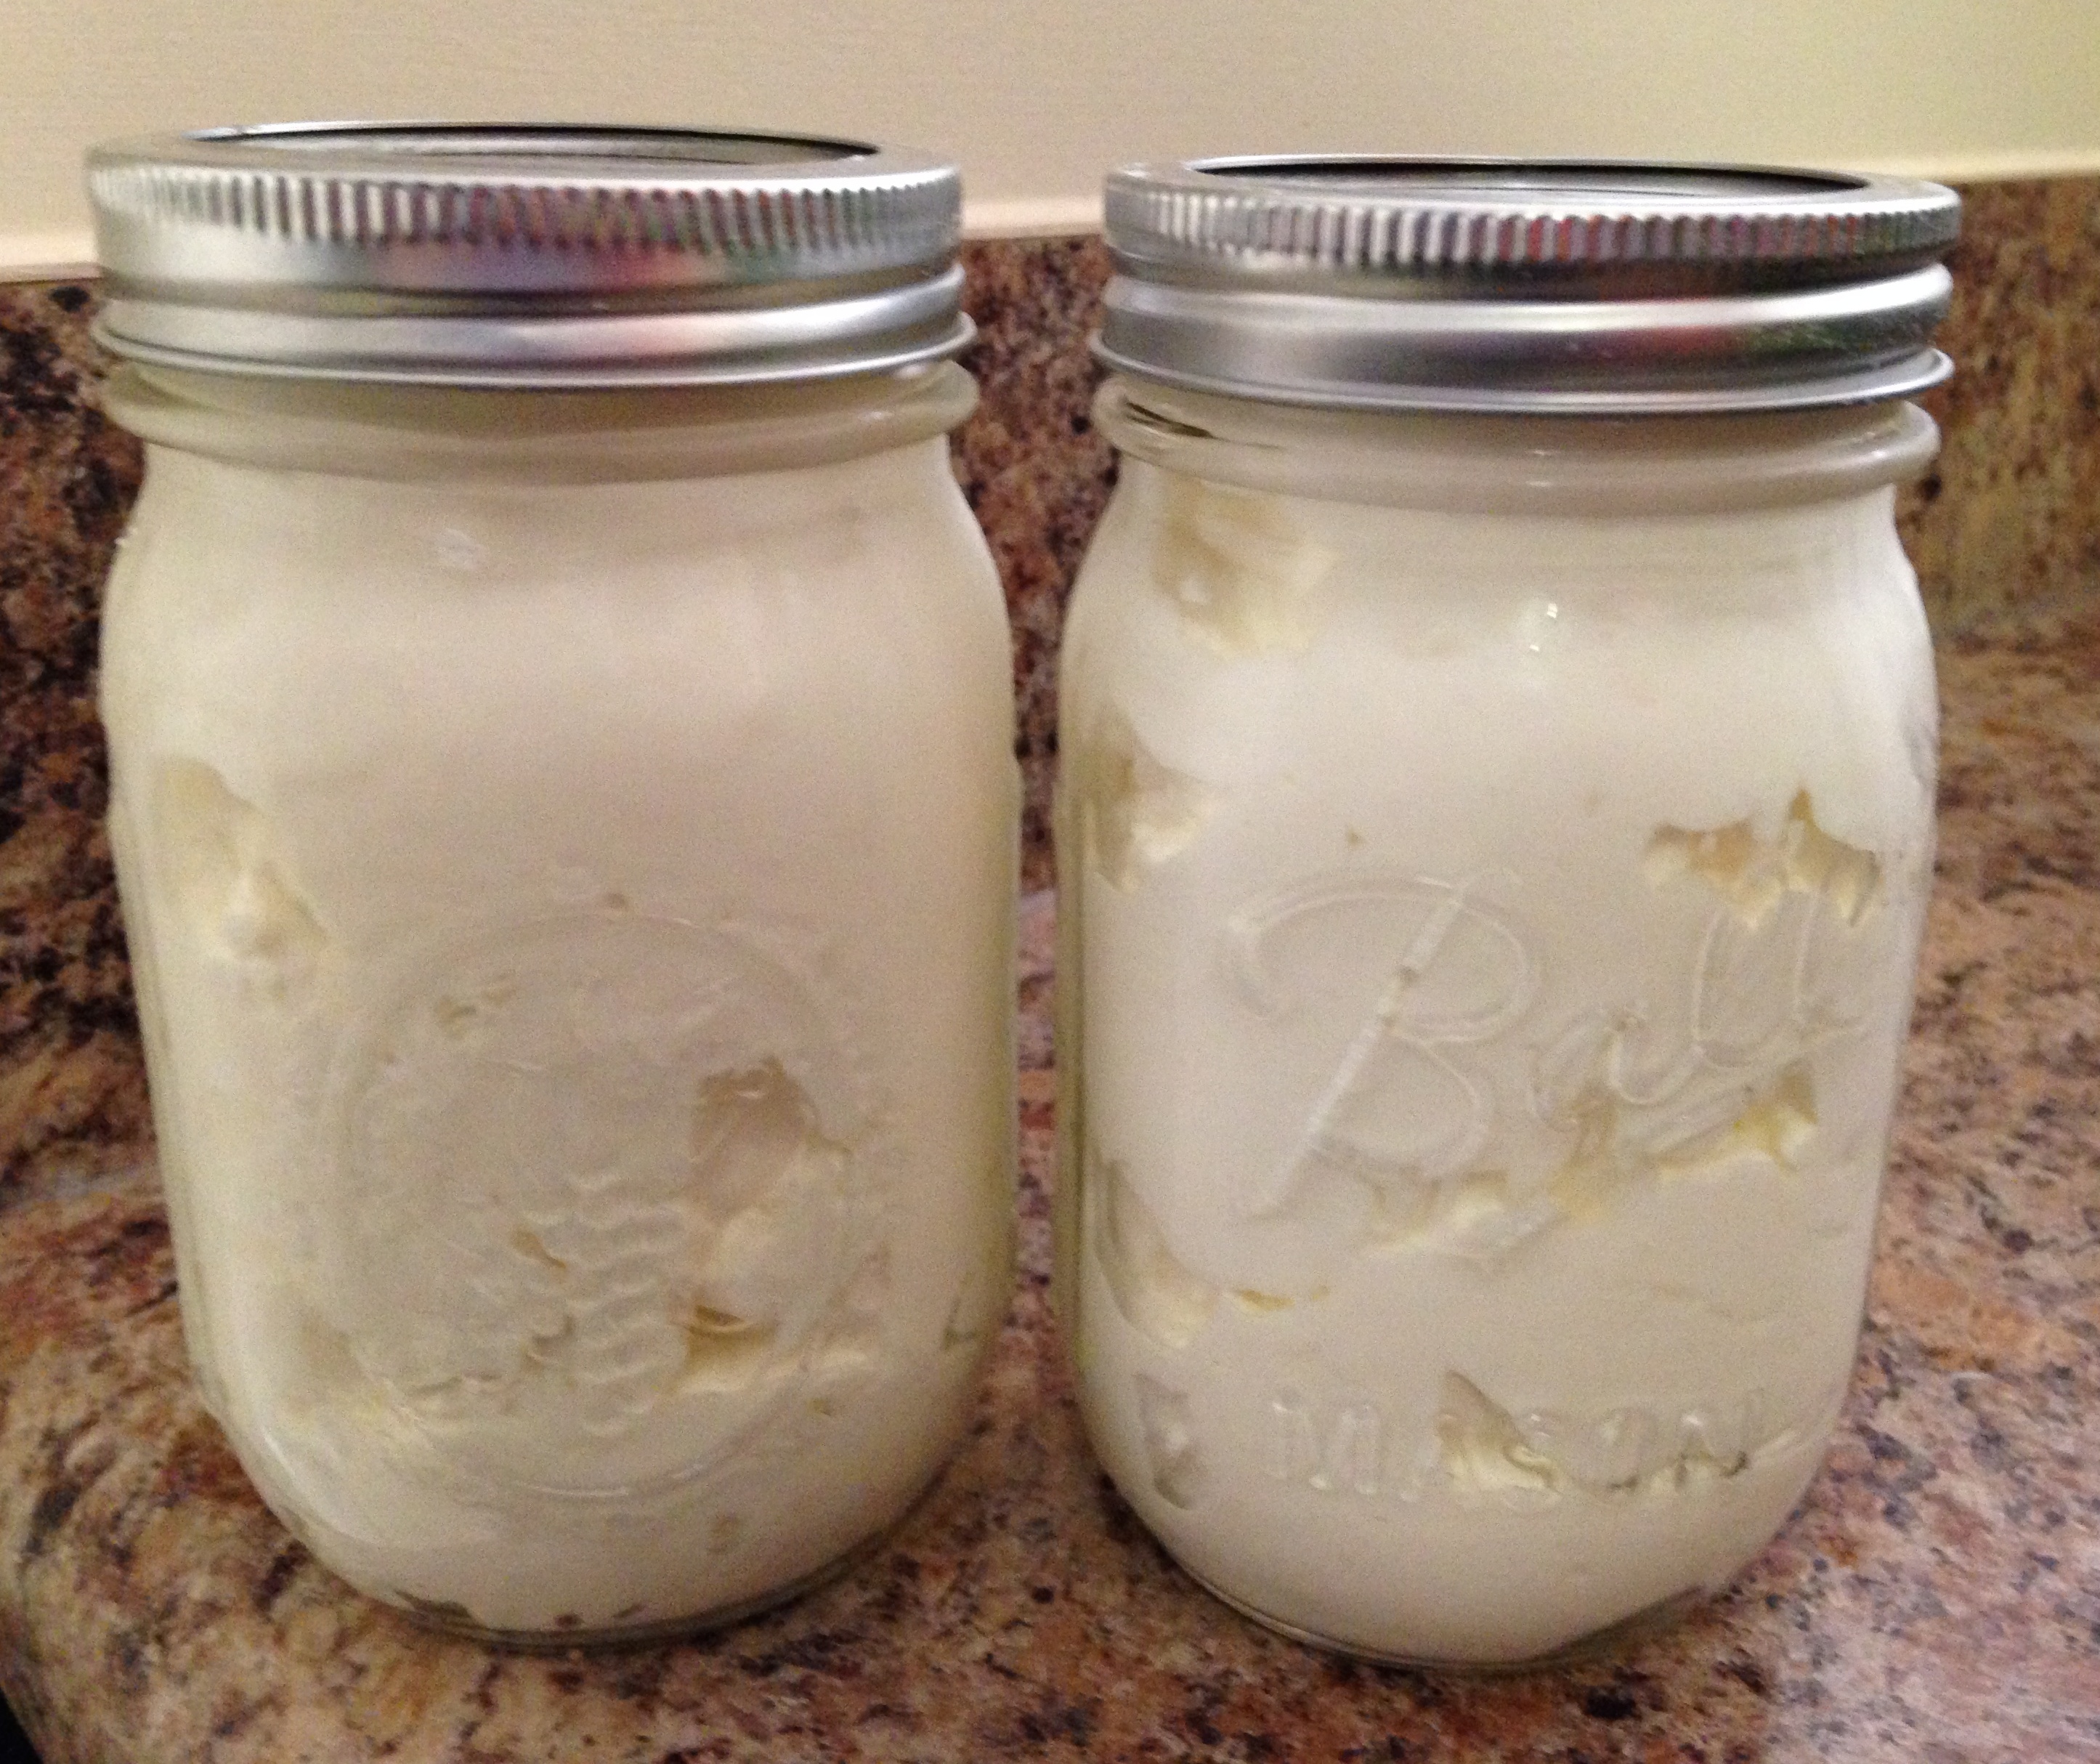
Homemade Greek Yogurt Recipe | Quick Delicious Cheap

 Making greek yogurt just got even quicker with our new no scald greek yogurt recipe. By cutting out scalding this homemade greek yogurt recipe saves you an hour and a half of work and you don’t have to worry about the milk boiling over. In our beginners guide to making greek yogurt we offer you a more traditional greek yogurt recipe where the first step is scalding the milk to 180F. In this recipe we skip the scalding step because we will be using pre-Pasteurized milk but has not been Ultra High Pasteurized which means the proteins are still intact in a way that allows yogurt to more easily ferment.
Like our beginners guide you can still choose to use a yogurt maker to help you out (you can check out some reviews of the Greek yogurt makers we have tried), or you can use some basic kitchen necessities if you want to make delicious, pro-biotic, natural, organic, authentic Greek Yogurt right at home and save money.
What you need for the no scald greek yogurt recipe:
4 cup or greater glass or plastic measuring cup (with a lid is helpful, but not necessary)
2 Tablespoons live culture yogurt (You can get it from you local grocery store), or yogurt culture packet
4 cups of UHT Pasteurized milk, the higher the fat content, the better.
6 cup saucepan or pot
Whisk
Piece of an old tee-shirt, cheese cloth, or a tea towel (the kind that is not made out of terry cloth) Alternatively you can use a special greek yogurt strainer
Optional: 1/4-1/3 cup powdered milk
Making greek yogurt:
Note: These instructions are for 4 cups of milk, but you can make it in larger batches, if you want. I often do a gallon recipe at a time since my son eats about a pint a day! The ratio of milk to finished greek yogurt is 2 to 1. So 4 cups of milk will yield 2 cups of creamy greek yogurt.
Step 1: Heat the Milk to 110F – Time 3-5 minutes
To be precise it is best to monitor the temperature with a thermometer. The yogurt cultures do best at a temperature range of about 95-110 degrees. I find it best to start at 110 degrees since naturally the milk will cool over time.
You also have the option of adding the powdered milk now, and whisking it in
Step 2: Add the bacteria – Time 1-2 minutes
If you’re using yogurt culture packets, now you add the packet to the 2 tablespoons of milk and stir and then pour into the saucepan. If using the 2 tablespoons of live culture yogurt, pour it into the saucepan.
Stir the saucepan of now culture rich milk with a whisk, and then pour back into your glass or plastic cup measure. If your measure cup has a lid, put it on, if not that’s fine.
Step 4: Keep the mixture close to 108 degrees – Time 4-12 hours
 Here is where most greek yogurt makers come in. You can see our reviews of a few yogurt makers that will keep your culture heated at 108F for as long as you want. I also use a product called a Wonderbag, which is a super insulated bag that is portable and successfully keeps my batch at the right temperature for up to 12 hours. Alternatively you can keep the batch in the oven covered with a thick towel or use a conventional cooler and towels to maintain the temperature.
Walk away for 4-12 hours. During this time you can use a wireless thermometer that will alert you when the temperature is getting too high or low.
When you wake up from the delightful nap you’ve just taken, remove the yogurt from the yogurt maker, Wonderbag, oven, etc. You can test if the yogurt is done when you tilt the measuring cup and the yogurt moves away from the side in one mass.
Step 5: Strain the yogurt – time 2-4 hours
Now you get to make greek yogurt.
Take the cloth that you have designated for the straining–tee-shirt, tea towel, or cheese cloth–stretch it over top of a bowl. Keep the cloth in place with several rubberbands stretched around the outside of the bowl. Then pour your yogurt onto the strainer you’ve created. Place the bowl and suspended yogurt into the refrigerator. Alternatively you can use a fine grade strainer balanced over a bowl. Let the yogurt drain for a couple of hours. The longer you let it drain the thicker the yogurt.
You’re done!
When the yogurt has drained long enough, or when you remember that you forgot about it go to the fridge and remove the delicious ready to eat yogurt.
Remove the rubber bands and gather up the edges of the yogurt cloth. Avoid submerging the yogurt in all that delicious whey you’ve drained off. Put the yogurt in an air tight container and refrigerate until you want to eat it.
You can also use our more traditional homemade greek yogurt recipe which produces equally delicious greek yogurt from non UHT Pasteurized milk.
can you tell me when do you put the flavour in
I’m new to this but I want to start making my own yogurt. How long will this stay fresh in the fridge? and can you freeze it?
Thanks in advance!
Your yoghurt will last for a good week in the fridge. I’ve had an excess of yoghurt and have frozen it and make frozen fruit yoghurt “ice-cream”. Put fresh fruit in a blender, add par-thawed yoghurt on top — whisk away for a minute and there you have it – delicious and healthy.
My husband has become quite involved in making our own yogurt. We use the Cuisinart machine and one batch was made with the housing cover off. The cover for the container with the yogurt was in place. We feel that the batch maybe okay but are not sure what if any part the clear housing lid plays in the process. Any ideas?? Possible recocovery??
I’ve been making Greek yogurt for some time now and I use a cheap set of nylon stockings for the straining. I cut off the legs and tie in a rather tight knit so the legs do t get in the way. I wash them well and keep them clean in a ziplock bag for the next batch of Greek yogurt. A cheap set of nylons only cost a dollar or two and can be used over and over.
What is the life span of the yogurt in the refrigerator. Can one make flavored yogurt?